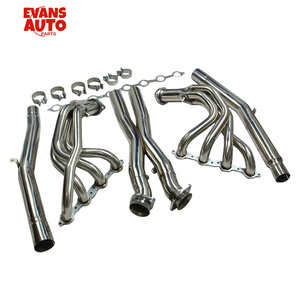
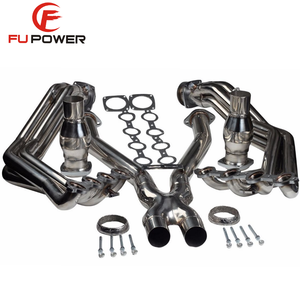
Types of Corvette Headers
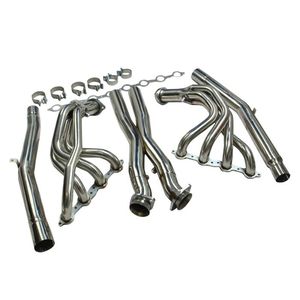
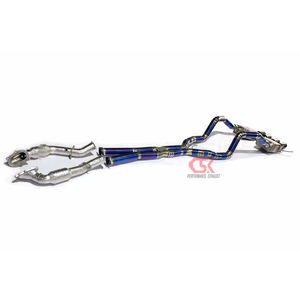
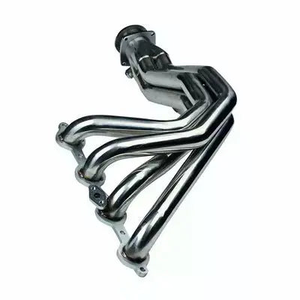
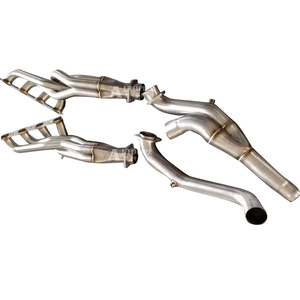
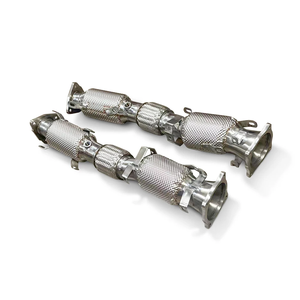
Corvette headers are an essential component of the exhaust system, designed to improve engine performance by replacing the factory-made exhaust manifold. They expel exhaust gases from the engine and direct them to the exhaust system.
Corvette headers come in numerous designs, with each one having unique advantages. Here are a few common types:
-
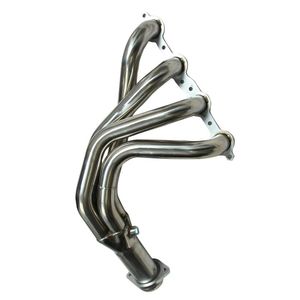
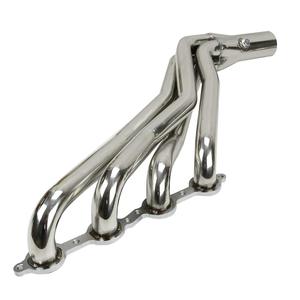
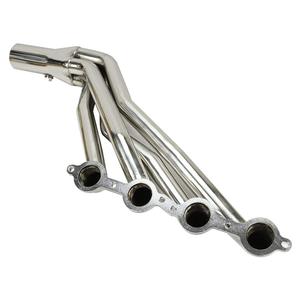
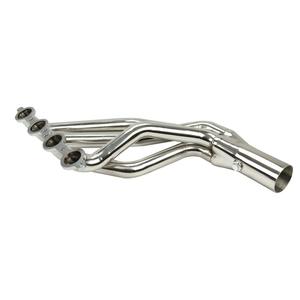
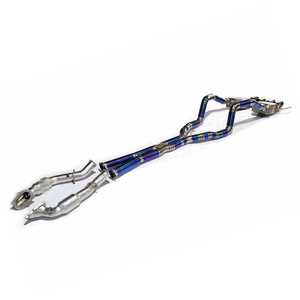
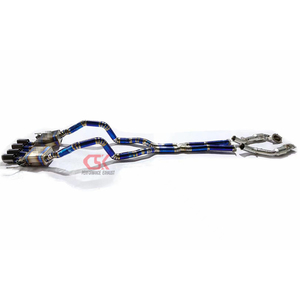
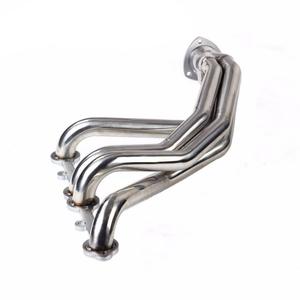
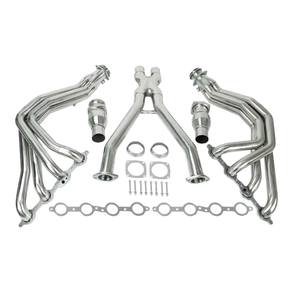
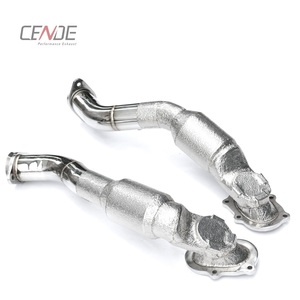
Long Tube Headers
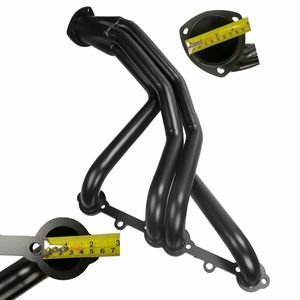
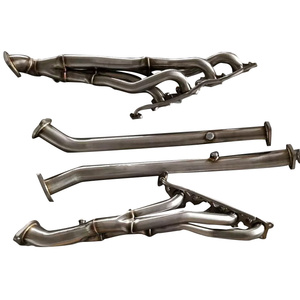
Long tube headers, as the name suggests, have lengthy primary tubes that stretch out to a full-length of about 18 to 30 inches. They are designed to replace the stock exhaust manifold and link to the exhaust pipes. These Corvette C8 headers are known for enhancing engine horsepower and torque, particularly in low to mid-range RPMs. Nevertheless, they can be hard to install and may require some modifications to the vehicle's undercarriage.
-
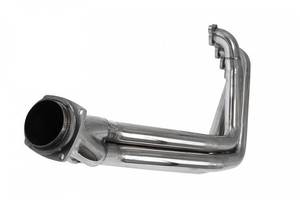
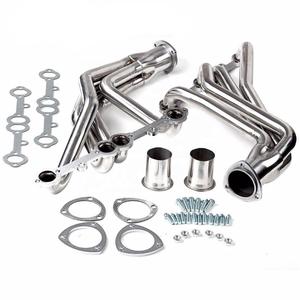
Shorty Headers
Shorty headers are another common type of Corvette headers. They are called shorty headers because the primary tubes are short and only reach the length of the stock exhaust manifold. The primary tubes of shorty headers measure about 10 to 18 inches in length. Unlike long tube headers, shorty headers are fairly easy to install. They don't require major modifications to the vehicle. As a result, they are a popular choice among Corvette enthusiasts who are looking for bolt-on exhaust solutions. Nevertheless, shorty headers do not provide as much horsepower as long tube headers.
-
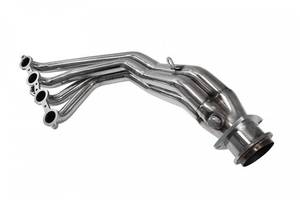
Tri-Y Headers
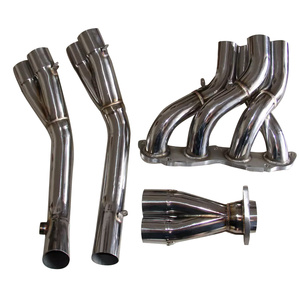
Tri-Y headers are also a type of Corvette headers. They feature a unique design that combines the elements of long tube and shorty headers. The primary tubes of Tri-Y headers are arranged in a Y-shape and typically measure about 12 to 18 inches in length. These Corvette headers are designed to enhance engine performance by improving low-end torque. They are the perfect choice for car owners looking to boost their vehicle's torque power.
-
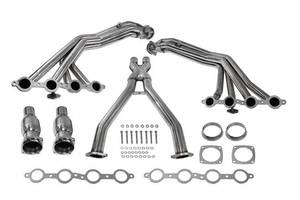
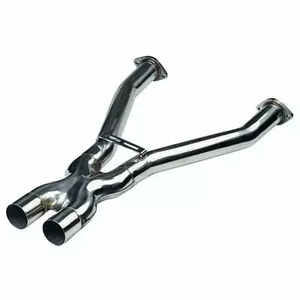
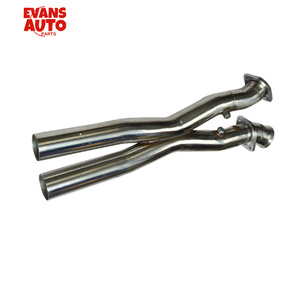
4-2-1 Headers
4-2-1 headers come with a unique design, which consists of four primary tubes that merge into two, and then into one. This design helps to minimize exhaust gas turbulence and enhances engine output. They are specifically designed to maximize mid-range torque and are ideal for sports cars.
Specification and Maintenance of Corvette Headers
Corvette header specifications vary depending on several factors, such as the model year, make, and the type of header.
-
Material
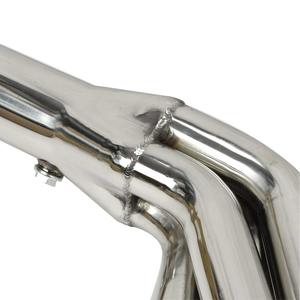
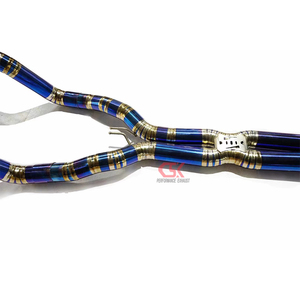
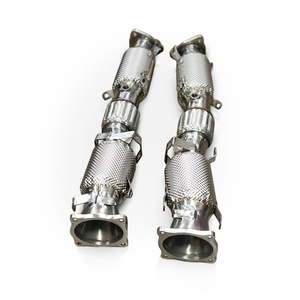
Corvette headers are made using different types of materials. The most common one is steel, especially stainless steel. Stainless steel headers have great resistance to corrosion and high durability. The steel headers are affordable, easy to install, and have a longer lifespan. Other materials that might be used to make headers are titanium alloys and aluminum.
-
Type
Manufacturers make several types of Corvette headers. For instance, long tube headers, mid-length headers, and shorty headers are some common types. Each of the types is designed to suit different needs and improve engine performance in various ways. In addition, each of the headers types has its own set of benefits.
-
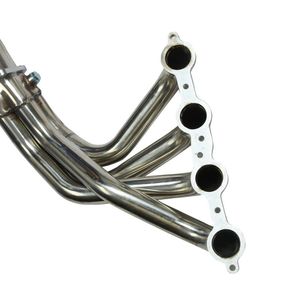
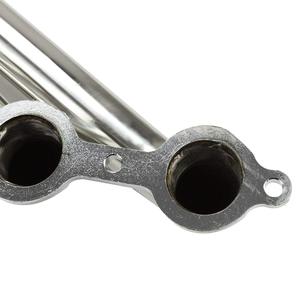
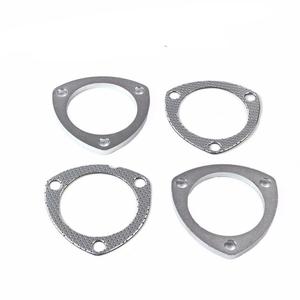
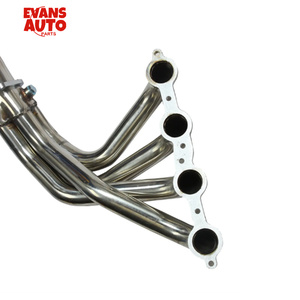
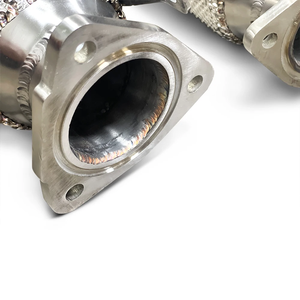
Flange Thickness
Corvette headers have different flange thicknesses. The thickness affects durability and header performance. Common header flange thickness is 3/8 inches.
-
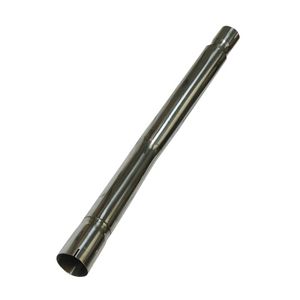
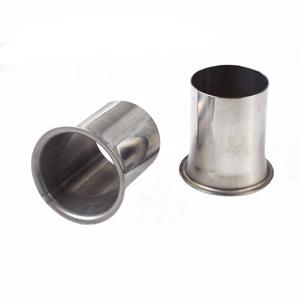
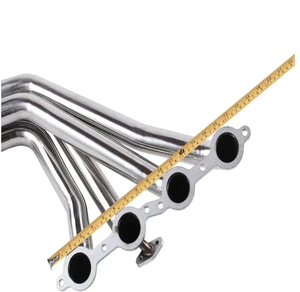
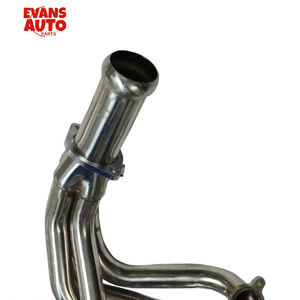
Pipe Diameter
Corvette headers have different pipe sizes, which directly affect exhaust flow. Larger pipes improve flow better than smaller pipes. However, the pipes should be large enough to balance the torque and power in the lower and higher ranges. The pipe sizes range from 1 inch to 2.5 inches in diameter.
-
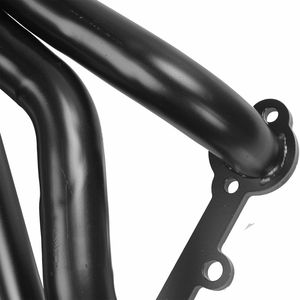
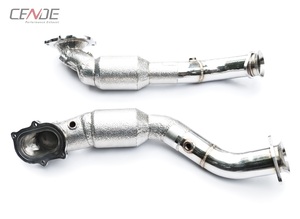
Coating
Some Corvette headers have a coating on the outside. The coating protects the header from corrosion and can withstand high temperatures. The coating also improves the appearance of the headers. Common types of header coatings are chrome and ceramic.
-
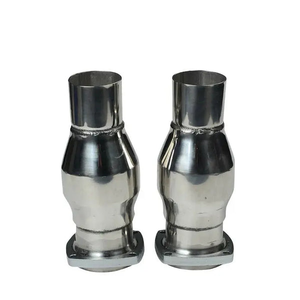
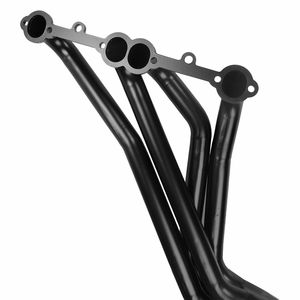
Collector Size
Corvette headers have different collector sizes. The collector is the part of the header where the four pipes join into one. Collector size affects back pressure and torque. The collector size ranges from 3 inches to 4.5 inches in diameter.
Maintaining Corvette's car headers is important if they are to serve their purpose for a long time. Proper maintenance ensures they perform well, which in turn improves the car's engine performance and increases its lifespan. Here are some general tips on maintaining Corvette headers:
- Check the headers regularly for any signs of damage or wear.
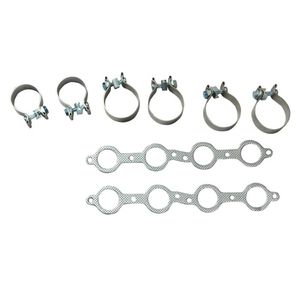
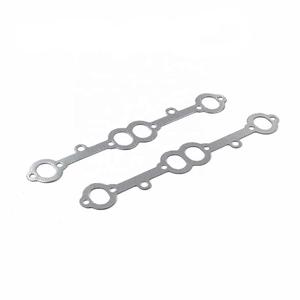
- Inspect the gaskets and flanges for leaks or cracks.
- Corvette headers should be cleaned regularly to prevent the build-up of dirt, dust, and debris. Cleaning can easily be done using a soft cloth and a mild detergent.
- Only use headers that are suitable for the specific Corvette model.
- Corvette headers should be installed properly to prevent future damages.
How to choose corvette headers
Choosing the right Corvette header can be challenging, given the many options available. However, here are some tips to make the selection process easier:
- Consider the ride's purpose: The header to be selected will be greatly influenced by what the Corvette is intended for. If it is a race car, high-performance headers that yield maximum horsepower and torque should be selected. For a street ride, headers that provide a good power increase and a tolerable noise level should be chosen.
- Learn the different types of headers: Understanding the various headers and their benefits can help make the selection easier. As seen above, long tube headers provide the most power but are often challenging to install. On the other hand, shorty headers are easier to install but offer minimal power gains.
- Budget: Having a budget before shopping for Corvette headers is essential. High-performance headers can be costly, but they offer a great return on investment for those who can afford them.
- Material: Considering the material of the headers is also important. Stainless steel headers are more expensive, but they offer durability and corrosion resistance.
- Brand: It is advisable to go for reputable brands when choosing Corvette headers. This is because reputable brands offer quality products that corvette models can fit into perfectly.
How to DIY and replace corvette headers
Before beginning a DIY corvette header installation, it is important to gather all the necessary tools and materials. A corvette header installation guide should also be looked at. Below is a general guide on how to replace corvette headers.
Step 1: Raise the Vehicle
For the installation process to be safe and easy, raise the car above the ground using a hydraulic lift or jack stands.
Step 2: Remove Undercover (if applicable)
Remove the undercover of the Corvette. This step is essential, especially if the Corvette has an undercover that obstructs access to the exhaust headers.
Step 3: Drain Coolant
The next step is to drain the coolant from the Corvette's cooling system. This step is vital to prevent any coolant spills during the installation process, which could damage the car's electrical components.
Step 4: Remove the Old Headers
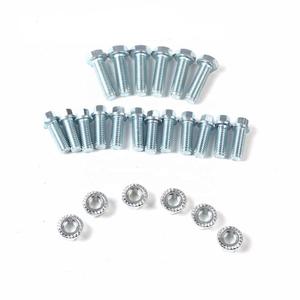
Start by loosening and removing the bolts that connect the headers to the exhaust pipes. A socket set and a ratchet extension are required to reach and remove the bolts securely. The next step is to disconnect the headers from the exhaust pipes. This step may require an extra hand to loosen the bolts easily. After that, proceed to remove the bolts that attach the headers to the cylinder head. This step may take longer due to the limited space and require a wrench to access some of the bolts. After all the bolts have been removed, carefully take out the old headers from the engine bay. This step may require an extra hand to lift the headers out safely. For Corvette models with a/c, remember to disconnect the a/c lines from the headers.
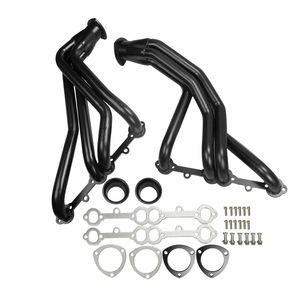
Step 5: Prepare the New Headers
Before installing the new headers, ensure they are clean and free from any debris. Follow the manufacturer's instructions to apply any necessary sealants or lubricants. Ensure all gaskets, bolts, and other necessary components are ready for the installation.
Step 6: Install the New Headers
Begin by carefully fitting the new headers into place. This step may require an extra hand to align the headers properly. Once in position, tighten all bolts securely. Follow a crisscross pattern to ensure even pressure and prevent any leaks. Reconnect the a/c lines to the headers if applicable.
Step 7: Reassemble and Test
Reassemble all removed components in reverse order. Refill the coolant in the Corvette's cooling system. Start the engine and check for any leaks or abnormal noises. Ensure everything is functioning properly before lowering the vehicle.
Q&A
Q1: What are the signs that a header needs to be replaced?
A1: If there is a noticeable drop in engine performance, the header may be clogged. Visible rust and corrosion on the header is another sign it needs to be replaced. A cracked header will produce loud noises when driving, while a warped header will cause leaks.
Q2: How long do Corvette headers last?
A2: Good quality Corvette headers can last up to 10 years or more. However, their lifespan can be shortened by factors such as driving conditions and poor maintenance.
Q3: Can anyone change a car header?
A3: Yes, anyone can change a car header, but only if they are skilled and have the right tools. Replacing a car header requires knowledge of auto mechanics. It also involves following safety procedures when working with car parts.
Q4: What is the difference between long tube and shorty headers?
A4: Long tube headers have longer primary tubes that measure about 28 to 32 inches. They provide better exhaust flow and are ideal for high-performance engines. Shorty headers have shorter primary tubes that connect to the exhaust system quickly. They improve performance slightly.


 浙公网安备 33010002000092号
 浙B2-20120091-4