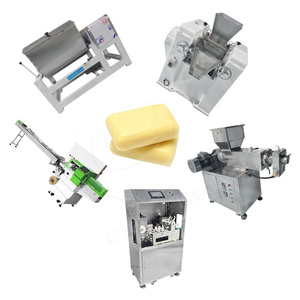
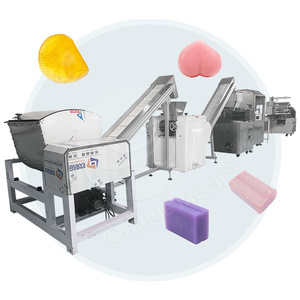
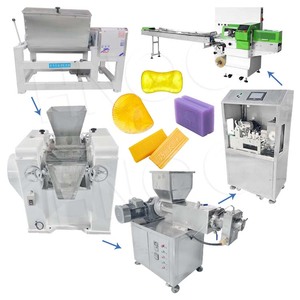
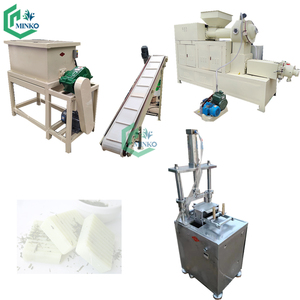
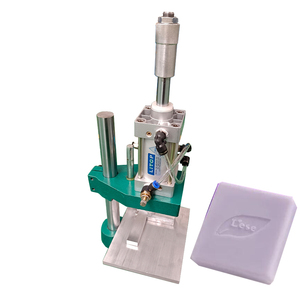
Types of beauty soap making
There are different types of beauty soap making processes. Each has unique features and requirements. Here are the main types of beauty soaps:
-
Cold Process Soaps
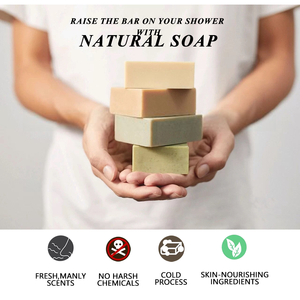
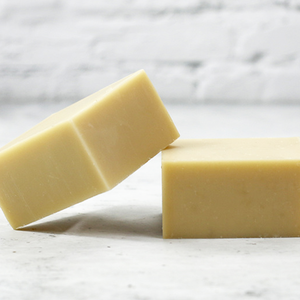
The cold process method for making beauty soap involves making lye water and mixing it with oils like olive, coconut, or palm oil. This mixture is then poured into a mold where it will sit for 24-48 hours before being removed and cut into bars. The soap will continue to cure for 4-6 weeks before it's ready for use. This process is called cold because no external heat is applied to accelerate the saponification process. The oils and lye react at room temperature. Using this method, the soaps maintain their vitamins and fragrances since no heat destroys them.
-
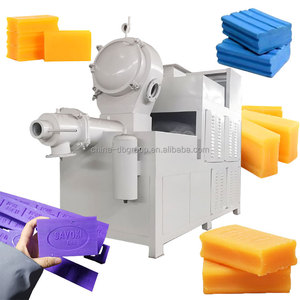
Hot Process Soaps
The hot process method is similar to the cold process except heat is applied to cook the oils and lye mixture. This heats the ingredients to fully saponify or turn into soap. Soaps made with the hot process can be used sooner, usually within a week after cooking the mixture and pouring it into molds. However, the soaps may lose some vitamins and fragrances from the heat. The hot process allows the soap to be finished more quickly since it doesn't require the long curing time of the cold process.
-
Melt and Pour Soaps
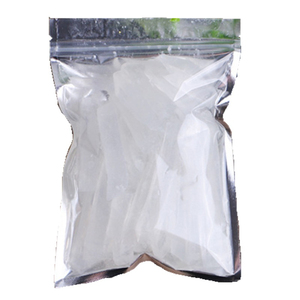
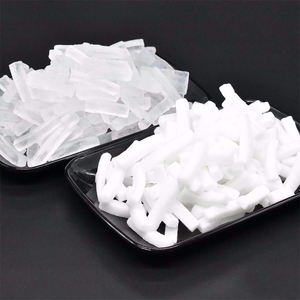
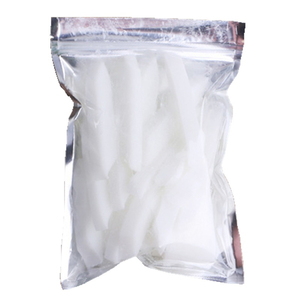
The melt and pour method involves melting a pre-made soap base and pouring it into molds. No lye or saponification is handled by the soap maker. The soap base has already gone through those processes. Once the soap base is melted, colorants, fragrances, and additives can be mixed in before pouring into molds to harden. This method is beginner-friendly since no chemical knowledge or safety precautions are required. It allows creative customization of the soaps by simply melting and mixing ingredients together.
-
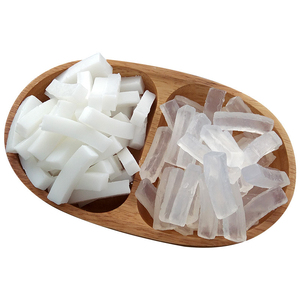
Glycerin Soaps
Glycerin soaps are made by combining glycerin with other ingredients like essential oils, pigments, and plant extracts. The mixture is poured into molds and allowed to harden. Glycerin is a humectant that draws moisture into the skin. These soaps are known for being gentle and moisturizing due to high glycerin content.
How to choose beauty soap making
Before buying soap-making supplies, businesses should consider the quantity the market needs. Buying kits is ideal for small batches, but larger operations will need separate ingredients and molds. Think about the target audience. Will they want scented soaps with colorful designs, or will they want something more natural? Research the market to see what is trending and what sells. This will help determine what ingredients to buy.
Another thing to think about is the budget. Kits are affordable, but buying everything separately can make more soap for less money. Buying ingredients in bulk is a more cost-effective way to make soap. Keep in mind that some special molds and fragrances need to be purchased separately if the kit does not include them.
Consider the time it takes to make soap. Cold process soap takes longer because it has to cure. Hot process soap is made in the mold and can be used right away. Melt and pour is the fastest way to make soap. Research the different methods and how long it takes to make each batch.
Look into the benefits of each ingredient. For example, coconut oil makes a lot of lather, but it can dry out the skin. Palm oil makes soap last longer, but it is not a sustainable resource. Research the ingredients to see what they do and buy items that are skin friendly. Once the soap is made, think about how it will be packaged. Buy supplies to package the soap in an appealing way.
How to use, install, and product safety
How to use
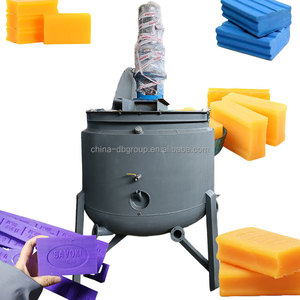
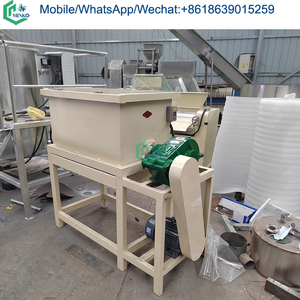
- Prepare the Ingredients: Cut the oils into small pieces. Heat the oils until they mix. Add the lye water when the oils are hot. Stir the mix until it becomes thick.
- Add Colors and Smells: When the mix gets thick, add the color and smell. Stir them in well. Do this before the mix hardens.
- Pour the Mix Into Molds: Pour the thick mix into molds. Tap the molds to get out any air bubbles. Cover the molds and keep them in a warm spot overnight.
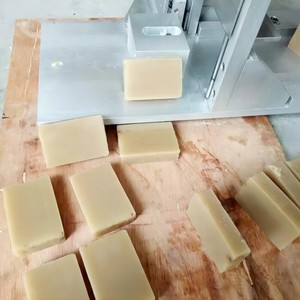
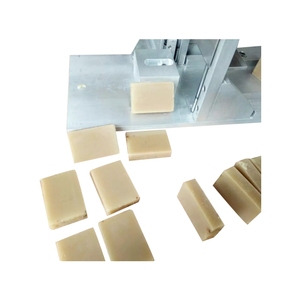
- Take the Soap Out and Cut It: After a day, take the soap out of the molds. If it is soft, press it into one block. Cut the soap into bars using a knife.
- Let the Soap Cure: For 4 to 6 weeks, keep the soap in a box with holes. Flip it once a week. This lets the soap get better.
- Use the Soap: Once the soap is cured, it is ready to use. Wet your skin and rub the soap bar on it. Enjoy the fun colors and scents as you clean yourself.
Product Safety
- Wear Safety Gear: Put on safety glasses, gloves, and a mask to protect your eyes, skin, and lungs from lye.
- Work in a Safe Spot: Use your lye and heat oils in a well-ventilated area, like near an open window, to keep dangerous fumes from building up inside your house.
- Be Careful with Lye: Slowly mix lye into cold or room-temperature water in a heat-resistant container. Always add lye to water, not the other way around. This keeps the mix from splashing.
- Handle Hot Oils Safely: Use a heat-safe container to melt your oils. When the oils are hot, carefully pour them into the lye water.
- Avoid Breathing Fumes: Do not breathe in the steam when mixing lye water or when mixing oils. The steam can hurt your lungs.
- Keep Kids and Pets Safe: Lock up lye and the oils until the soap is done. Do not let children or pets near the dangerous stuff.
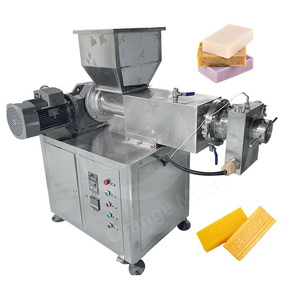
Functions, features, and design of beauty soap making
Soap making is a unique craft that combines art and science to create functional and aesthetic products. Here's a closer look at the features and designs of handmade soaps:
Function
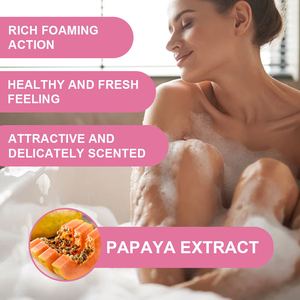
Beauty soaps serve many functions, cleansing the skin and moisturizing it. The exfoliating soap bars remove dead skin cells, leaving the skin smoother and more radiant. They also have therapeutic properties, helping to relax the mind and body. Aromatherapy soaps, like lavender and chamomile, release essential oils that reduce stress and promote well-being.
Feature
Beauty soaps come in various sizes and shapes, with some having intricate designs. They are classified into five main categories according to their features:
- Exfoliating soaps: These soaps have ingredients like oatmeal, coffee grounds, or pumice that provide a gentle exfoliation. It helps remove dead skin cells and promote blood circulation.
- Aromatherapy soaps: Made with essential oils from aromatic plants, these soaps provide a pleasant fragrance that soothes the mind and body. Some essential oils also have therapeutic benefits.
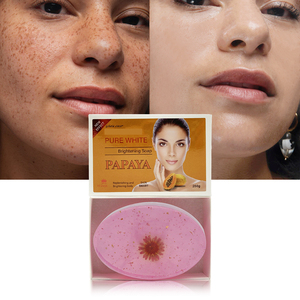
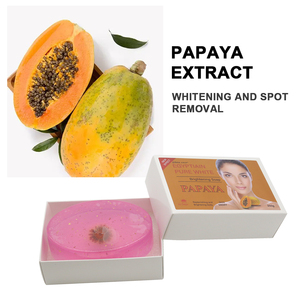
- Herbal soaps: Contain natural herbs and botanicals with beneficial properties for the skin. They offer a more gentle cleansing and are often used for sensitive or allergy-prone skin.
- Moisturizing soaps: Enriched with ingredients like shea butter, cocoa butter, and glycerin, these soaps help to moisturize and nourish dry skin. They are ideal for people living in dry or cold climates.
- Antibacterial soaps: Contain ingredients like tea tree oil, eucalyptus, or colloidal silver that have natural antibacterial, antifungal, or antimicrobial properties. They help prevent infection and promote healing.
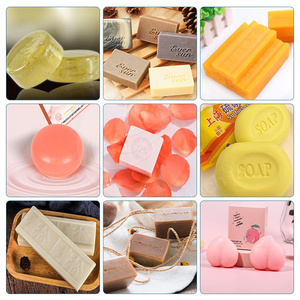
Design
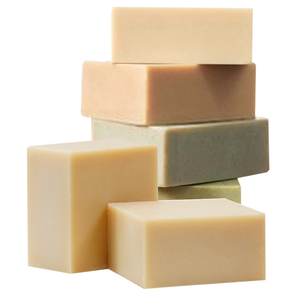
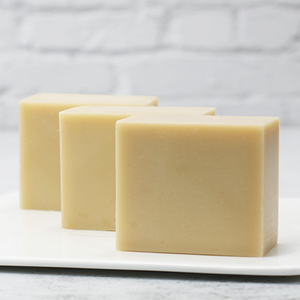
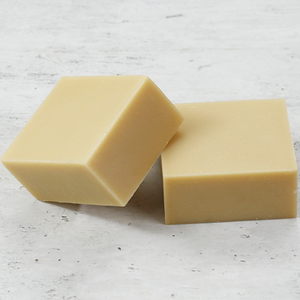
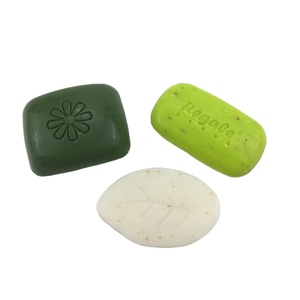
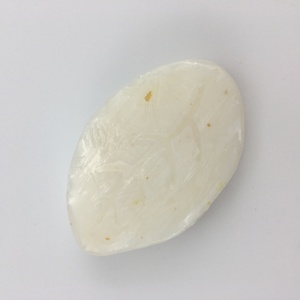
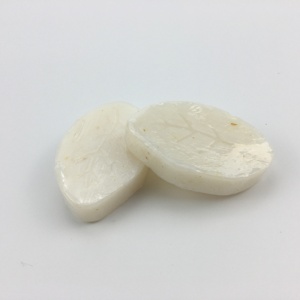
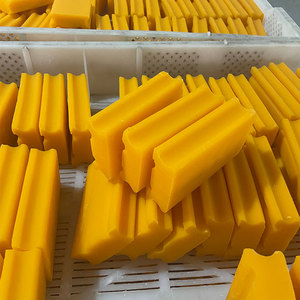
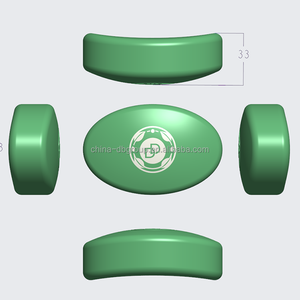
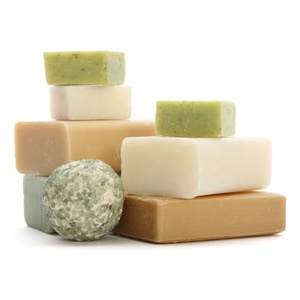
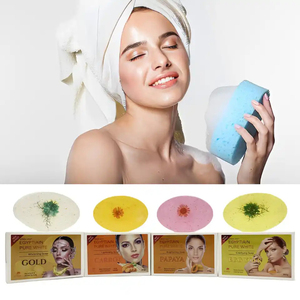
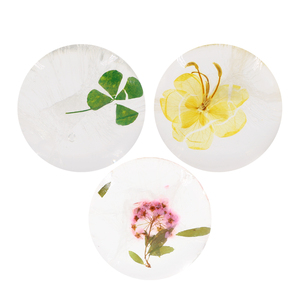
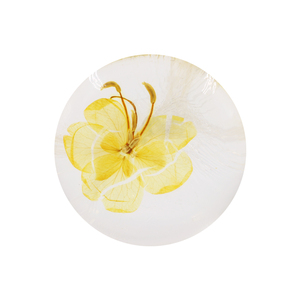
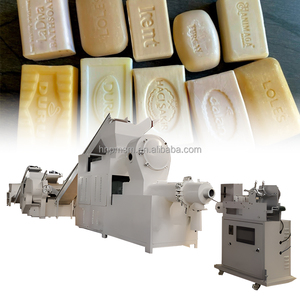
- Size and Shape: Soaps are commonly rectangular or square, resembling traditional soap bars. They are also circular, heart-shaped, or custom shapes for specific occasions. The size varies, with some being travel-sized and others larger for daily use.
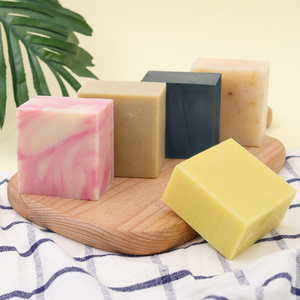
- Color: Colors are vibrant, with shades reflecting nature, like earth tones or pastels. Multiple colors can layer, swirl, or gradient for visual impact.
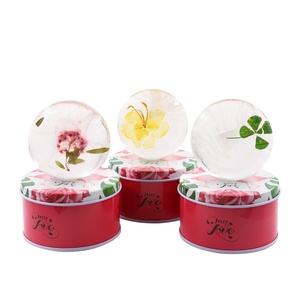
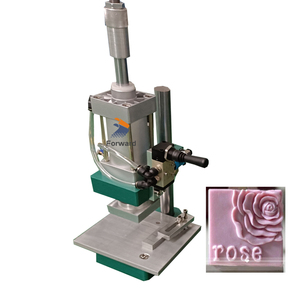
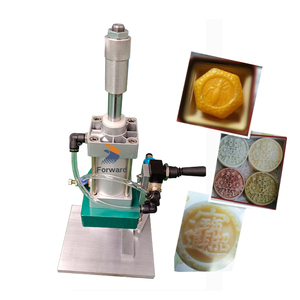
- Texture: Soaps have smooth surfaces, often with embossed patterns or designs. Some have textured surfaces for exfoliation or added grip during use.
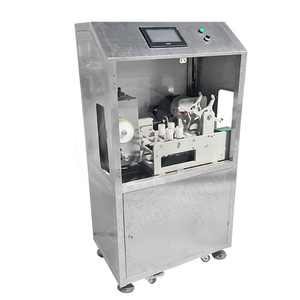
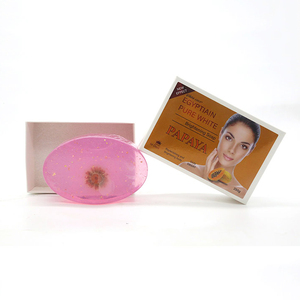
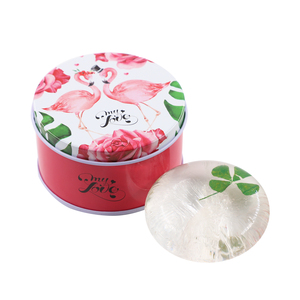
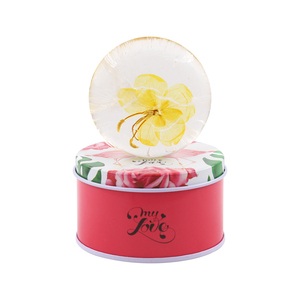
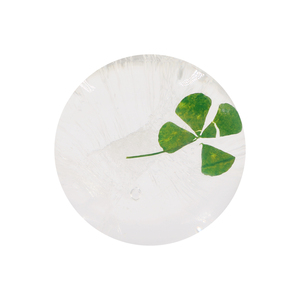
- Packaging: Packaged in clear or frosted cellophane, allowing visibility while protecting from moisture. Some are boxed, often with kraft or patterned boxes for a more giftable option. Ideal for travel in plastic or metal tins with lids.
Q&A
Q1. What are the basic supplies needed to make soap?
A1. The basic supplies needed to make soap are a soap mold, scales, a thermometer, a stick blender, and an apron. The ingredients for making soap are lye, water, and oil. Lye is the ingredient that makes the soap rise, and it is not a good idea to substitute it with anything else.
Q2. What is the easiest soap to make at home?
A2. Glycerin soap is one of the easiest soaps to make at home because it does not require any special equipment or skills. It is also a good option for those who are new to soap making because it is gentle on the skin and can be customized with different scents and colors.
Q3. What oils are best for making soap?
A3. Some oils are best for making soap, such as coconut oil, olive oil, palm oil, and castor oil. Coconut oil helps create a lather in the soap, while palm oil makes a smooth soap. Castor oil is used in small amounts because it creates a lot of lather.
Q4. What makes homemade soap last longer?
A4. Adding sodium lactate makes the soap last longer because it hardens the soap more. Another way to make the soap last longer is to use less water when mixing the ingredients. Soaps with a harder texture last longer than softer bars.
Q5. Do I need a special mold to make soap?
A5. It is not necessary to have a special mold to make soap because any container can be used as long as it is lined with freezer paper or freezer wrap. However, silicone molds are easy to use because they are flexible and make removing the soap easier.


 浙公网安备 33010002000092号
 浙B2-20120091-4