


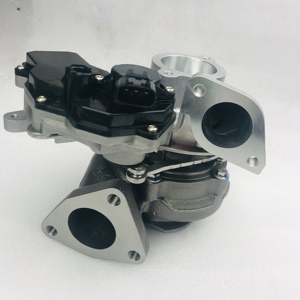


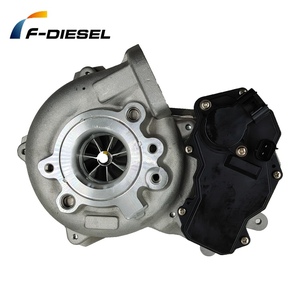
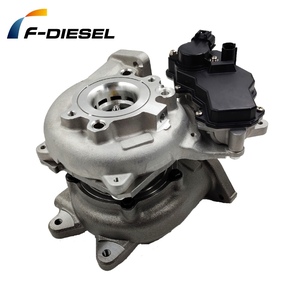
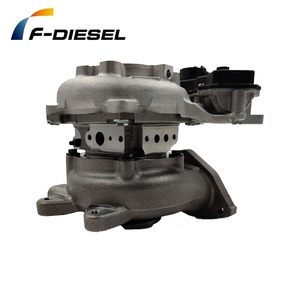
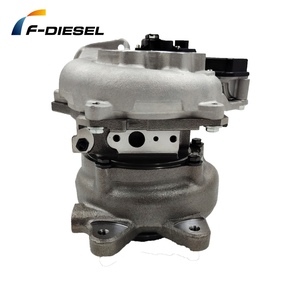
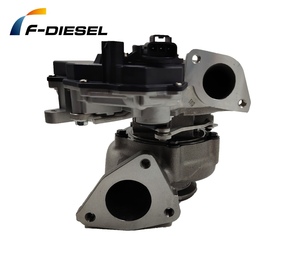


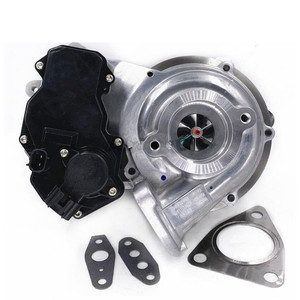
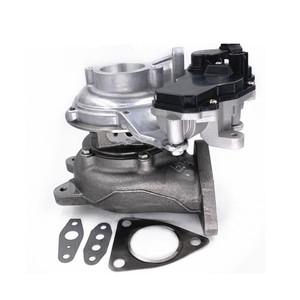
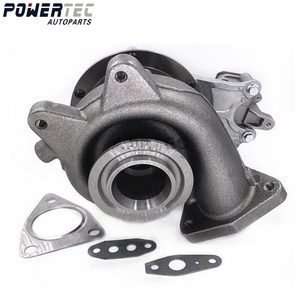
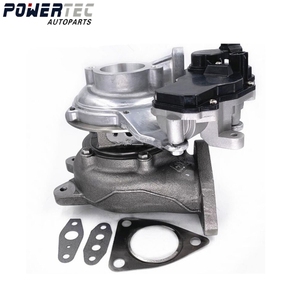
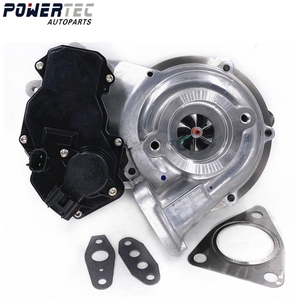


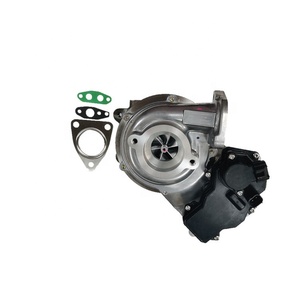
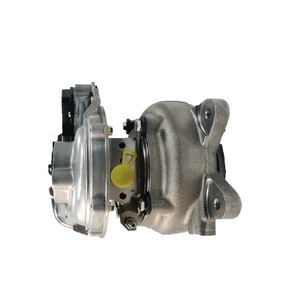
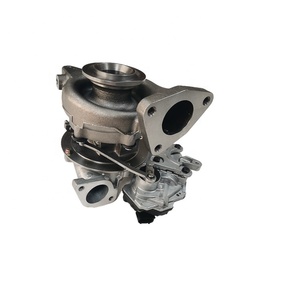
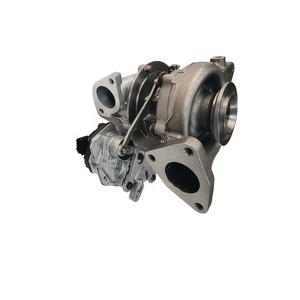


Types of 1GD Turbocharger
Most vehicles use the internal combustion engine to generate power. The 1GD turbocharger is a specialized component designed to enhance engine performance by forcing additional air into the combustion chamber. This increased air intake allows more fuel to burn efficiently, resulting in greater power output and improved driving experience, especially during high-demand situations like towing or carrying heavy loads. Additionally, 1GD turbochargers contribute to better fuel efficiency and reduced emissions.
Expert Tip: Understanding the different turbocharger types can help you select the optimal configuration for your specific driving needs and vehicle specifications.
Single Turbochargers
Single turbochargers are the most commonly used type in 1GD engines, featuring one turbine and one compressor wheel paired together. The exhaust gases spin the turbine, which in turn drives the compressor wheel to force air into the engine.
Best for: General applications, balanced performance, reliability
Variable Geometry Turbochargers
VGTs optimize performance across a broader range of engine speeds by using adjustable inlet guide vanes. This design reduces turbo lag and provides better boost control, making them ideal for diesel engines in larger vehicles.
Best for: Diesel applications, reduced lag, better torque distribution
Twin-Scroll Turbochargers
These feature two separate scrolls in the turbine housing, corresponding to the engine's exhaust banks. This design separates exhaust pulses, minimizing interference and maximizing the turbine's energy capture efficiency.
Best for: Performance applications, quicker boost response, efficiency
Electric Turbo-Compound
ETC systems combine traditional turbocharging with electric propulsion, recovering energy from exhaust gases and using it to further boost engine power output, enhancing performance while improving efficiency.
Best for: Advanced applications, reduced emissions, maximum efficiency
| Turbocharger Type | Lag Characteristics | Power Delivery | Complexity | Ideal Application |
|---|---|---|---|---|
| Single Turbo | Moderate | Linear, predictable | Low | Daily drivers, light-duty trucks |
| Variable Geometry | Low | Smooth, consistent | High | Diesel engines, heavy-duty applications |
| Twin-Scroll | Low | Quick, responsive | Moderate | Performance vehicles, sports models |
| Electric Turbo-Compound | Very Low | Immediate, enhanced | Very High | Hybrid vehicles, efficiency-focused applications |
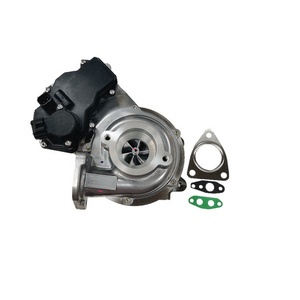
Specifications & Maintenance of 1GD Turbocharger
Proper maintenance of your 1GD turbocharger is essential for ensuring optimal performance, efficiency, and longevity. Following these maintenance guidelines will help prevent costly repairs and unexpected failures.
Regular Oil Changes
Every 5,000 miles or per manufacturer schedule
Inspection Intervals
Visual checks every 10,000 miles
Air Filter Replacement
Every 15,000-30,000 miles
Cool Down Period
1-3 minutes after hard driving
Detailed Maintenance Protocols
Regular Oil Changes
Clean oil is critical for turbocharger function and longevity. The oil not only lubricates but also helps control heat in these high-performance components. Change your engine oil and filter every 5,000 miles or according to your vehicle manufacturer's recommendations, always using high-quality oil that meets or exceeds the specified grade.
The oil circulating through your turbocharger needs to be clean and free of debris to prevent clogging of narrow oil passages. Premium synthetic oils offer superior protection at extreme temperatures compared to conventional oils, making them ideal for turbocharged engines.
Comprehensive Inspection
Regular visual inspections can identify potential issues before they become serious problems. Look for oil leaks around turbo connections, which can indicate failing seals or loose fittings. Check for cracks in exhaust pipes or the turbo housing itself. Any unusual wetness or discoloration could suggest leaks.
Inspect all connections, hoses, and clamps to ensure they remain secure and free from damage. Pay special attention to the oil supply and return lines, as these are critical for proper turbocharger operation. A thorough inspection routine can significantly extend turbocharger life.
Air Filter Maintenance
The air filter is your turbocharger's first line of defense against harmful particulates. A clean filter ensures optimal airflow while preventing debris from damaging the precision-engineered turbine blades. Restricted airflow from a clogged filter can reduce power and efficiency while increasing strain on the turbo system.
Check your air filter regularly, especially in dusty conditions. Replace paper filters according to the manufacturer's schedule, typically every 15,000-30,000 miles. For washable filters, use only approved cleaning products and methods to maintain filter integrity.
Proper Cool Down Procedures
Turbochargers operate at extremely high temperatures, making proper cool-down essential to prevent premature wear. After heavy-load driving or highway cruising, allow your engine to idle for 1-3 minutes before shutting it off. This cooling period allows the turbo to slow down gradually while circulating coolant and oil continue to dissipate heat.
The practice of "heat soaking" can occur when a hot turbo is shut down immediately, potentially causing oil coking inside the turbo bearing housing. This repeated thermal stress can accelerate wear and potentially lead to turbocharger failure.
Warning: Never use aggressive driving immediately after a cold start. Allow your engine and turbocharger to reach operating temperature before demanding full boost. This prevents premature wear from insufficient lubrication.
How to Choose 1GD Turbocharger
Whether you're a parts retailer looking to stock 1GD turbochargers or an end user seeking a replacement, understanding the key selection criteria will help you make informed decisions. Here's a comprehensive guide to choosing the right 1GD turbocharger:
Brand Reputation
Established brands with proven track records tend to offer more reliable products. Consider manufacturers with extensive experience in turbocharger technology who offer consistent quality and customer support.
Look for: Recognized industry leaders, OEM suppliers
Quality Considerations
Quality directly impacts performance and longevity. Premium turbochargers typically feature better materials, tighter manufacturing tolerances, and superior design features that enhance efficiency and durability.
Look for: Precision engineering, quality certifications
Compatibility Factors
The turbocharger must be compatible with the specific vehicle model and engine configuration. Always verify fitment against your vehicle's exact specifications to ensure proper function.
Look for: Make/model compatibility lists, OEM specifications
Key Selection Criteria
| Selection Factor | Importance | What to Consider |
|---|---|---|
| Brand Reputation | High | Market standing, reliability history, customer testimonials |
| Turbocharger Type | Critical | Single turbo vs. VGT vs. Twin-scroll based on application needs |
| Quality & Materials | High | Construction quality, heat resistance, durability features |
| Warranty Coverage | Medium | Length of coverage, what's included, manufacturer support |
| Ease of Installation | Medium | Fitment accuracy, included hardware, installation instructions |
| Price Point | Variable | Value proposition, long-term cost-effectiveness, price vs. quality |
| Compatibility | Critical | Engine specifications, mounting points, connection interfaces |
| Customer Reviews | Medium | Real-world performance reports, reliability feedback |
| Supplier Reputation | Medium | Reliability, product knowledge, after-sales support |
Expert Advice: For retailers, stocking a mix of OEM and quality aftermarket 1GD turbochargers allows you to serve customers across different price points while maintaining product integrity. Always prioritize compatibility and reliability over price alone.
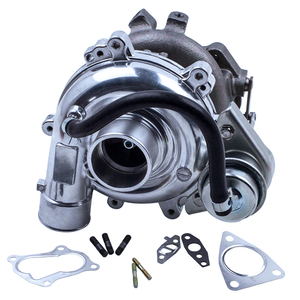
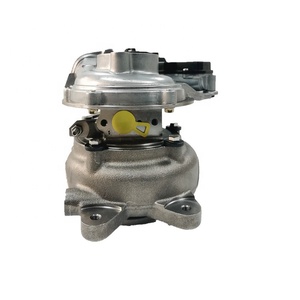
How to DIY and Replace 1GD Turbocharger
Replacing a 1GD turbocharger requires mechanical knowledge and careful attention to detail. Before beginning this procedure, ensure you've properly diagnosed the turbocharger as the source of your engine issues. This comprehensive guide walks you through the replacement process step by step.
Essential Tools and Materials
- Socket set with various sizes (8mm to 19mm)
- Wrench set (open-end and box wrenches)
- Torque wrench (for proper bolt tightening)
- Oil drain pan (minimum 5-quart capacity)
- New gasket set (specific to your turbocharger model)
- New 1GD turbocharger (direct replacement or upgraded model)
- Anti-seize compound (for exhaust components)
- Shop towels and degreaser
- Fresh engine oil (manufacturer recommended grade)
- New oil filter
Safety Warning: Never attempt to replace a turbocharger while the engine is hot. Allow at least 2-3 hours after operation for components to cool completely. Hot exhaust components can cause severe burns.
Step-by-Step Replacement Procedure
1
Preparation
Disconnect the negative battery terminal to prevent electrical issues. Position the oil drain pan under the oil filter area. Remove the engine cover to access the turbocharger assembly.
2
Oil System Service
Drain the engine oil completely by removing the oil drain plug. Remove and replace the oil filter. This ensures your new turbocharger receives clean oil upon startup.
3
Intake System Disconnection
Loosen the clamps and remove all air intake pipes connected to the turbocharger and intercooler. Label each connection to ensure proper reassembly later.
4
Heat Shield Removal
Unbolt the heat shield protecting the turbocharger. This typically requires removing several bolts of varying sizes. Set the heat shield aside in a safe location.
5
Exhaust System Disconnection
Remove the downpipe or exhaust manifold connections from the turbocharger outlet. These bolts may be difficult to access and could require specialized socket extensions.
6
Wastegate Disconnection
Disconnect the wastegate actuator rod and unbolt the wastegate mechanism if it's a separate component. On VGT turbochargers, disconnect any electronic actuator connectors.
7
Turbocharger Removal
Unbolt the turbocharger from the exhaust manifold and carefully disconnect all remaining connections. Pay special attention to oil and coolant lines, marking their positions before removal.
8
Oil Line Service
Disconnect the oil feed and return lines from the turbocharger. Inspect these lines for any damage or clogging. Replace if necessary to ensure proper oil flow to your new turbocharger.
9
New Turbocharger Installation
Position the new turbocharger and reconnect all components in reverse order. Use new gaskets at all connection points to ensure proper sealing. Apply anti-seize compound to exhaust bolts.
10
System Priming
After installation is complete, refill the engine with fresh oil. Before starting, prime the oil system by cranking the engine for 10-15 seconds with the ignition disabled (remove fuel pump fuse) to allow oil to reach the turbocharger bearings.
Critical Tip: After installation, run the engine at idle for at least 5 minutes to ensure proper oil circulation through the new turbocharger before driving. For the first 500 miles, avoid hard acceleration and high boost conditions to allow proper break-in of the turbocharger components.
Frequently Asked Questions
Q1: What are the signs of a failing 1GD turbocharger?
A failing 1GD turbocharger typically exhibits several distinctive warning signs that vehicle owners should be aware of:
- Unusual noises - Whistling, grinding, or rattling sounds from the engine bay, especially during acceleration
- Excessive exhaust smoke - Blue smoke (oil burning) or white smoke (coolant leak) from the exhaust pipe
- Check engine light - Illuminated warning light, often accompanied by boost-related error codes
- Burning odors - Strong smell of burning oil or hot metal, indicating potential oil leaks or overheating
- Performance issues - Jerky acceleration, turbo lag, or complete loss of power during acceleration
- Increased fuel consumption - Noticeable decrease in fuel efficiency without changes in driving habits
- Boost pressure problems - Inconsistent boost delivery or inability to reach normal boost levels
Early detection of these symptoms can prevent more serious engine damage and reduce repair costs.
Q2: Can users drive a vehicle with a bad turbocharger?
While technically possible in some cases, driving with a failed or failing turbocharger is strongly discouraged for several important reasons:
- Potential engine damage - A malfunctioning turbocharger can introduce metal fragments or oil into the engine, potentially causing catastrophic engine failure
- Reduced performance - Significant loss of power makes safe highway merging and passing difficult
- Increased emissions - Failed turbochargers often cause the vehicle to run rich, increasing harmful exhaust emissions
- Secondary damage - Oil leaks from turbo seals can damage oxygen sensors and catalytic converters, adding to repair costs
If the turbo issue is minor, such as a small oil leak, limited driving at reduced speeds might be possible for short distances. However, continuing to drive with more serious turbocharger problems risks compounding the damage and increasing repair costs significantly.
Q3: Should the 1GD turbocharger replacement be upgraded?
The decision to upgrade your 1GD turbocharger during replacement depends on your performance goals and vehicle application:
For standard replacements, using an OEM-equivalent turbocharger is generally recommended as it:
- Maintains factory reliability and driving characteristics
- Ensures proper integration with engine management systems
- Preserves fuel economy and emissions compliance
Consider upgrading your turbocharger if you need:
- Increased towing capacity for heavy-duty applications
- Enhanced performance for motorsport or enthusiast use
- Improved throttle response and reduced turbo lag
Important: Any turbocharger upgrade should be accompanied by professional tuning of the engine management system to ensure proper air-fuel ratios and prevent engine damage. Consult with a performance specialist to determine the appropriate turbocharger specification for your specific goals.
Q4: How long does a 1GD turbocharger replacement take?
The time required to replace a 1GD turbocharger varies significantly based on several factors:
- Experience level - Professional mechanics typically complete the job in 3-5 hours, while DIY enthusiasts might need 6-8 hours or more
- Vehicle accessibility - Some vehicle designs provide better access to the turbocharger than others
- Turbocharger location - Engines with the turbo positioned deep within the engine bay require more disassembly time
- Additional components - If related components (exhaust manifold, downpipe, intercooler) also need replacement, additional time will be required
For most 1GD applications, plan for a full day's work if performing the replacement yourself. Having all necessary tools and parts organized before beginning can significantly reduce the total time required.


 浙公网安备 33010002000092号
 浙B2-20120091-4